
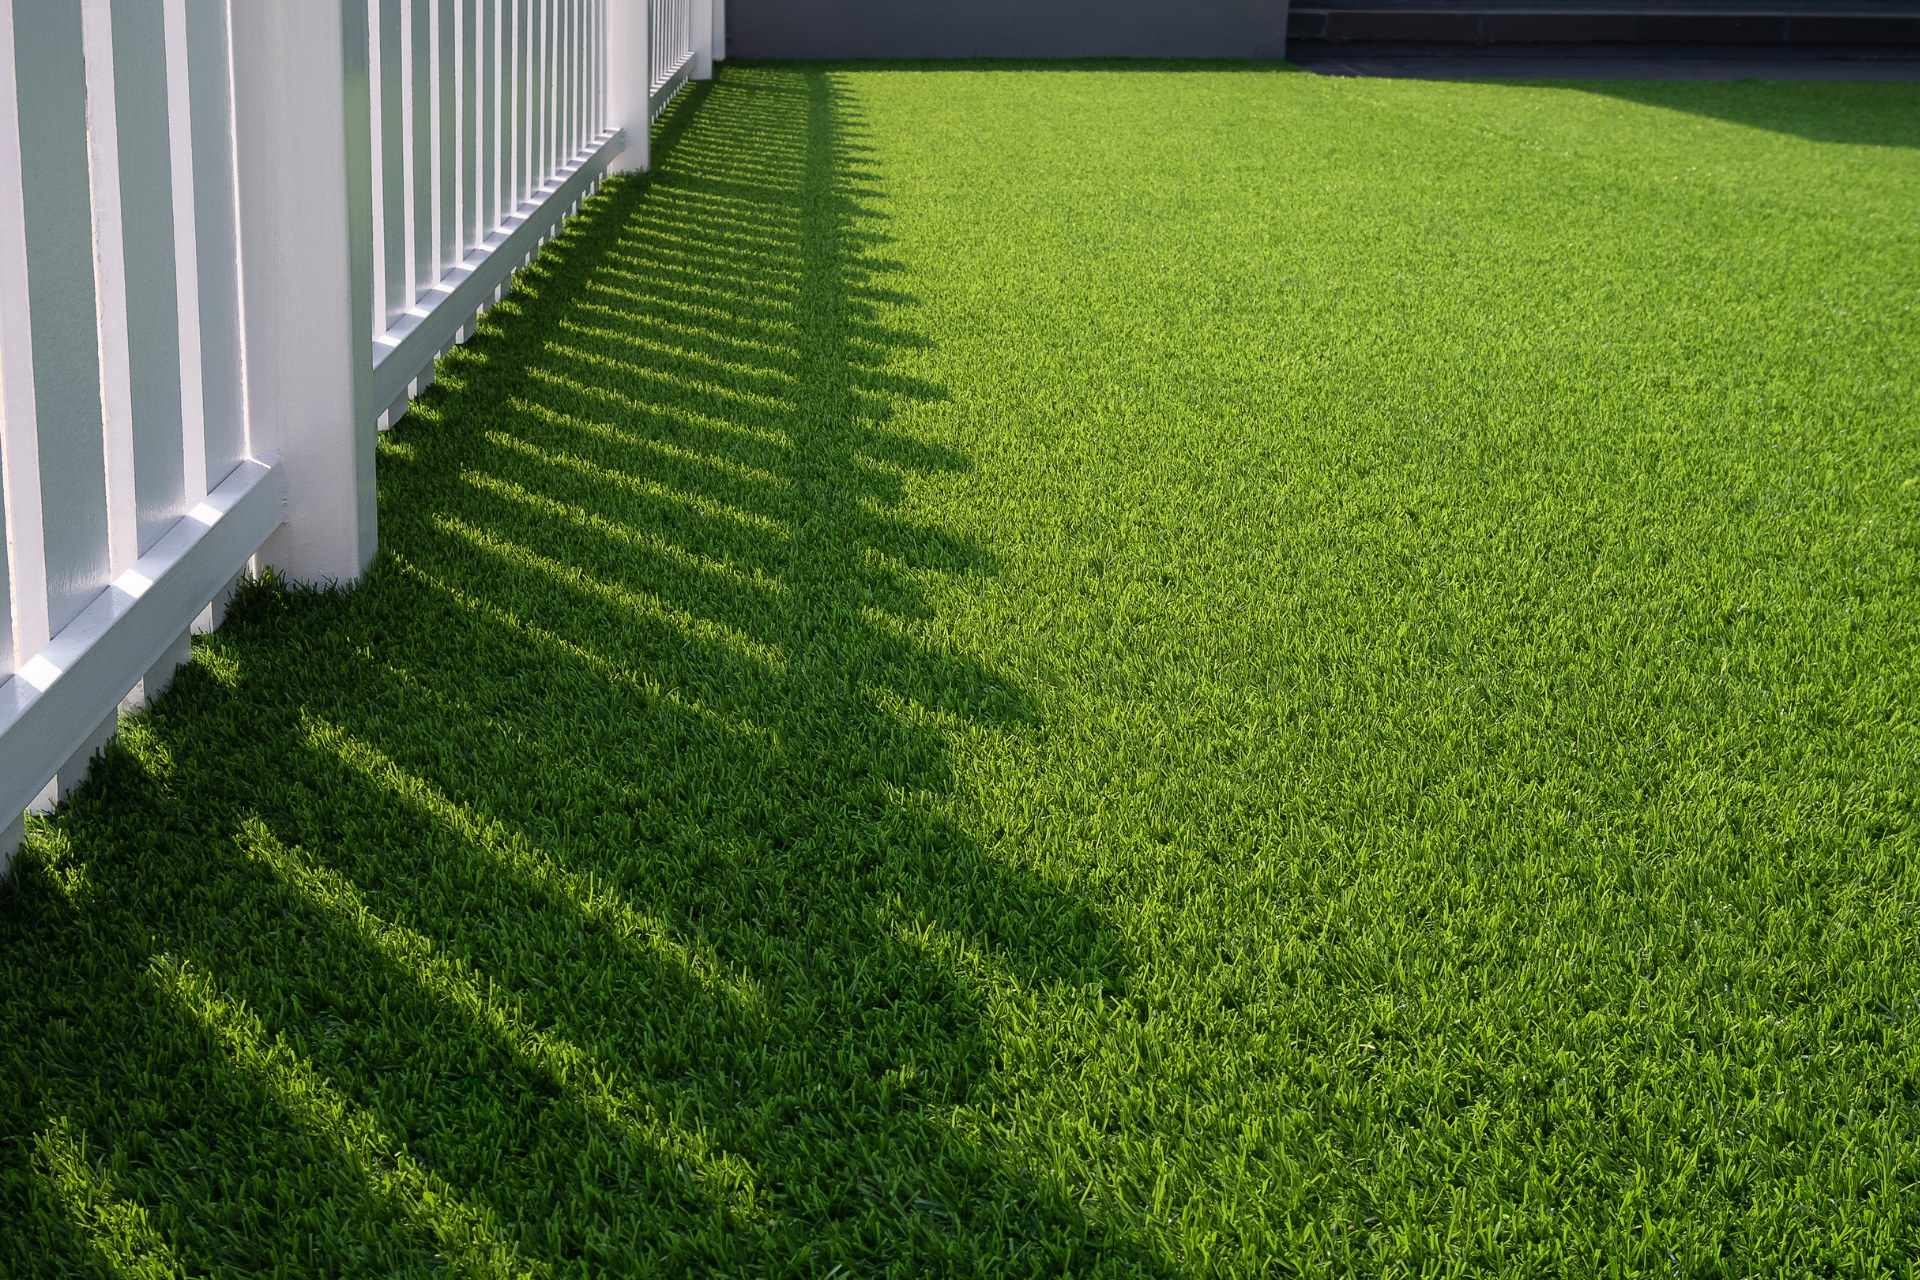
Artificial turf can be a major upgrade for Washington State homeowners who are tired of mud, patchy grass, and constant maintenance. But the results you see online (flat, clean edges, no ripples) usually come down to the install.
If you’re considering DIY vs hiring a crew, this guide breaks down what a turf installation really involves, where DIY projects typically run into trouble, and how to decide based on your yard’s grade, drainage, and layout.
First question: should you even choose turf or keep real grass?
Before you decide how to install, make sure turf is actually the right solution for your property. In western Washington , the biggest factors are shade, moss pressure, drainage, and how much time you want to spend maintaining a lawn.
If you’re still weighing options, you’ll get clarity from our comparison guide: Artificial turf vs natural grass. It walks through real-world pros/cons and what typically drives the decision for Eastside homes.
A simple rule: DIY is only “simple” when the yard is simple
DIY turf can work well when:
-
The area is small and mostly level
-
You have easy access for hauling materials
-
You’re comfortable excavating, grading, and compacting
-
Your layout doesn’t require multiple seams or tricky transitions
Hiring a professional is usually the smarter route if your yard has:
-
Any pooling, soft spots, or runoff issues
-
A slope (even a mild one)
-
Tight edges around patios, walkways, fences, or planting beds
-
Large square footage that requires seams
-
Pets (odor control depends on drainage + base design)
Redmond’s wet seasons are unforgiving, shortcuts that might “look fine” in summer can show up fast once heavy rain returns.
What a professional-quality turf installation includes
An artificial turf installation isn’t just “roll it out and pin it down.” The base system underneath is what determines whether the lawn stays flat, drains correctly, and looks good for years.
1) Excavation and removal
This includes removing grass, roots, and organic material. Skipping this step often leads to settling, bumps, or soft areas later.
2) Grading and drainage planning
This is where local conditions matter. Many Redmond yards have shaded side areas, downspout runoff, or low spots that hold water. Good turf installs address water movement before turf is ever laid.
3) Base build and compaction
A stable base is built in lifts and compacted properly so it doesn’t shift or settle. This is the most common DIY failure point because it takes time, equipment, and experience.
4) Weed barrier / geotextile layer
This helps prevent weeds and stabilizes the separation between soil and base materials—especially helpful in wetter climates.
5) Turf layout, cutting, and seam work
On larger installs, seams are unavoidable. Professional results come from correct grain direction, clean cuts, and seam joins that don’t show after grooming.
6) Edging and transitions
Edges are where installs start to fail first: lifting, ripples, movement, or visible borders. Clean edges also determine whether the final look feels “finished.”
If your turf project ties into patios, pavers, or retaining work, it’s worth coordinating with hardscape contractor so everything transitions cleanly.
7) Infill and final grooming
Infill selection and distribution affects feel, durability, drainage behavior, and appearance. Final power brooming helps turf stand naturally and look even.
The most common DIY turf mistakes (and why they happen)
DIY turf projects usually don’t fail because of effort—they fail because the hidden parts of the install are underestimated.
Mistake #1: “Close enough” grading
If the base isn’t shaped correctly, turf mirrors the low spots. Low spots become puddles, and puddles become long-term problems.
A quick reality check for Redmond: if your yard already struggles with soggy patches, DIY makes less sense unless you’re prepared to solve the drainage system first.
Mistake #2: Under-compaction and settling
If compaction is rushed or inconsistent, the base settles after the first heavy rain cycle. You’ll see dips, wrinkles, or uneven feel.
Mistake #3: Visible seams
Seams require precision. DIY seams often look fine at first, then show after grooming, temperature changes, or base movement.
Mistake #4: Weak edges
Edges that aren’t secured and terminated correctly will eventually move. That can mean lifting near walkways, separating near beds, or visible borders around the perimeter.
DIY time and cost: what homeowners don’t plan for
Most homeowners budget for turf and base materials, but DIY typically includes:
-
Tool rentals (plate compactor, cutter, hauling)
-
Disposal runs (and time)
-
Extra base material due to miscalculation
-
Seam tape and adhesive learning curve
-
Rework costs if drainage or base prep isn’t right
DIY can still be worthwhile in the right scenario—but the financial risk increases sharply once your project involves drainage correction, multiple seams, or tight hardscape edges.
If you keep real grass instead, keep the guesswork at a minimum
Some yards are better suited to grass (or homeowners simply prefer it). If that’s you, your best move is to run a consistent maintenance plan designed for Redmond conditions.
When hiring a local turf installer in WA is the smarter decision
You should strongly consider a professional install if:
-
Your yard has water issues, slope, or low areas
-
You want the seams to disappear
-
You have pets and need odor-resistant performance
-
You need clean edges against patios, walkways, or beds
-
You want the turf to hold up through wet seasons without shifting
If you want a quote based on your yard’s specific grade, drainage, and layout, contact us for a free quote!
Bottom line
DIY turf can be a good project when the yard is small, level, and straightforward. But in Redmond, the difference between turf that stays perfect and turf that develops puddles, ripples, or odor issues is almost always base + drainage.